This is the installation of a steel rollpan on a Chevrolet Tahoe.
Click on any of the pictures below to see a more detailed view.
Tack Welding
This steel rollpan was tack welded to the sides of the truck. We could have also welded to the body had we removed the dropdown tailgate, but the sides were solid enough without that.
When welding these you want to let the bumper cool off between welds so you don't warp the steel. Also be sure the welder isn't set so high you burn through the metal.
Trailer/Receiver Hitch & Spare Tire
We had to remove the receiver hitch as it would have stuck through the rollpan. The removal was as simple as unbolting, though we needed both metric and standard sockets to do this.
The spare tire was also in the way and needed to be removed or it would have stuck out the bottom and not looked very good.
Tahoe Frame
The frame where the original bumper attached stuck out too far and it had to be shortened with a cutting torch.
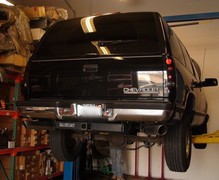 This Chevy Tahoe Before We Started the Install
1 - Chevy Tahoe Before

2 - Uninstalling The Tow Hitch
Simply remove the bolts. Be aware they sometime use both metric and standard sizes.
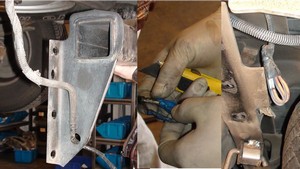
3 - Removing the Hitch Wiring
It's best to disconnect the wiring before removing the hitch. We had to cut the wires and taped them up out of the way.
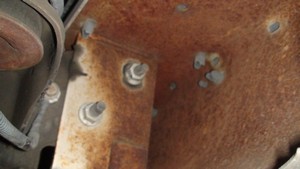
4 - Removing The Old Bumper
There are five bolts on each side that need to be removed.
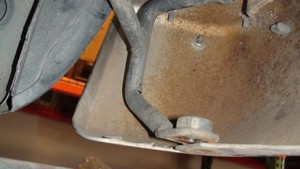
5 - More Bolts on the Old Bumper
There's also a bracket that needs to be unbolted as well.
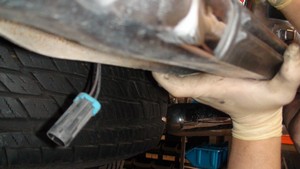
6 - Removing License Plate Wiring
Before dropping the bumper, disconnect the license plate light wiring.
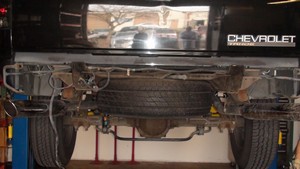
7 - The Old Bumper Removed
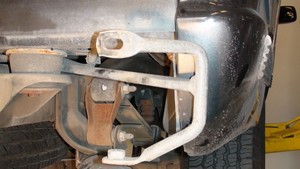
8 - Removing The Bumper Bracket
Notice how far the spare tire hangs down. We had to remove it before installing the rollpan.
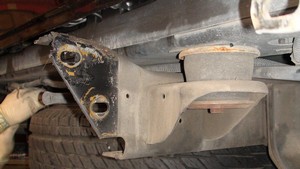
9 - Frame Needs to be Shortened
The ends of the frame stick out too far to install the rollpan. We had to cut them shorter.
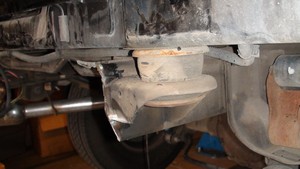
10 - Frame Shortened for Rollpan
The cutting torch made short work of this job.
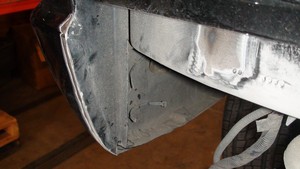
11 - Removing the Paint to Weld
We need to remove the paint in order to have a clean spot to weld.
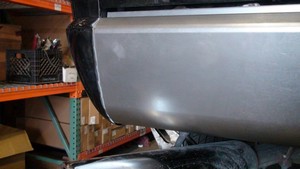
12 - Fitting the Roll Pan to the Truck
The rollpan fit almost perfectly. Every truck will be slightly different.
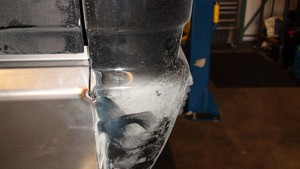
13 - Rollpan Tack Welded to the Tahoe
With it tacked up we can make minor adjustments to snug up the fit.
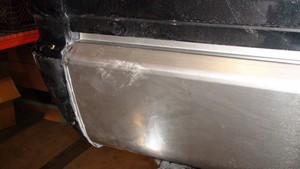
14 - Needing a Little Adjustment
We had to bang on it a little to adjust the fit.
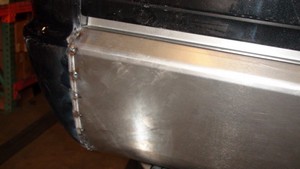
15 - Tack Welding More Complete
Spots about one inch apart and let cool so it doesn't get too hot and warp the steel.
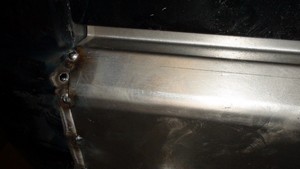
16 - Welder was Set Too High
We burned a hole through the metal because the welder was set too hot.
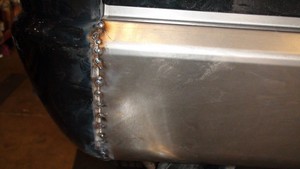
17 - Final Welds Let Them Cool
As we got more welds we needed to let the bumper cool.
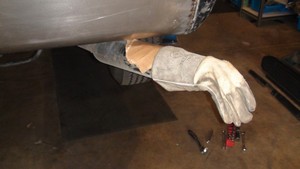
18 - Cover any Chrome When Welding
Sparks from the welder were falling on the chrome so we covered them up.
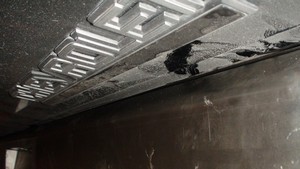
19 - Gap for Tailgate to Open
Because this Tahoe has a tailgate not a liftgate, we need to be sure the gap is big enough.
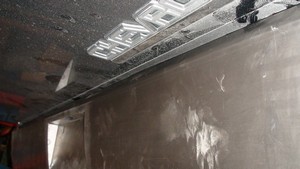
20 - The Gap with the Tailgate Down
A great fit!
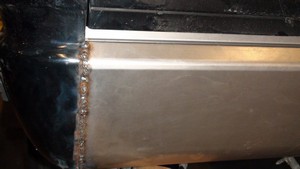
21 - Welds Ready to be Ground Smooth
Welds complete and ready to be smoothed out.
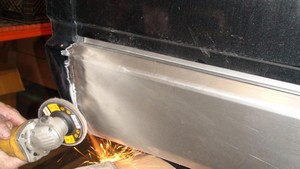
22 - Grinding the Welds
Smoothing the welds out to prep for painting.
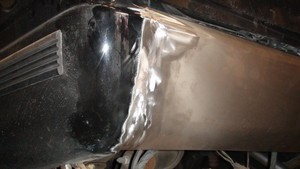
23 - Rollpan Welds Smoothed Out
We ground the welds smooth and it's ready to be prepped for paint.
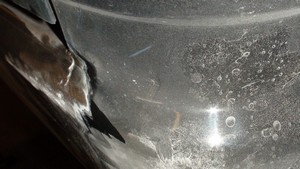
24 - Never Perfect Before Painting
These usually require a small amount of bondo to smooth out for painting.
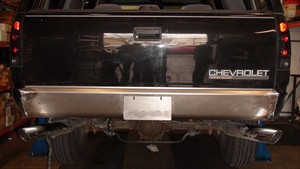
25 - Finished Installation Ready for Paint!
All done and ready for paint prep!
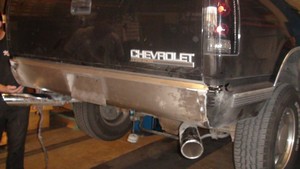
26 - Another Finished View
Another view of the completed installation.
 This Chevy Tahoe Before We Started the Install


